
Free guide
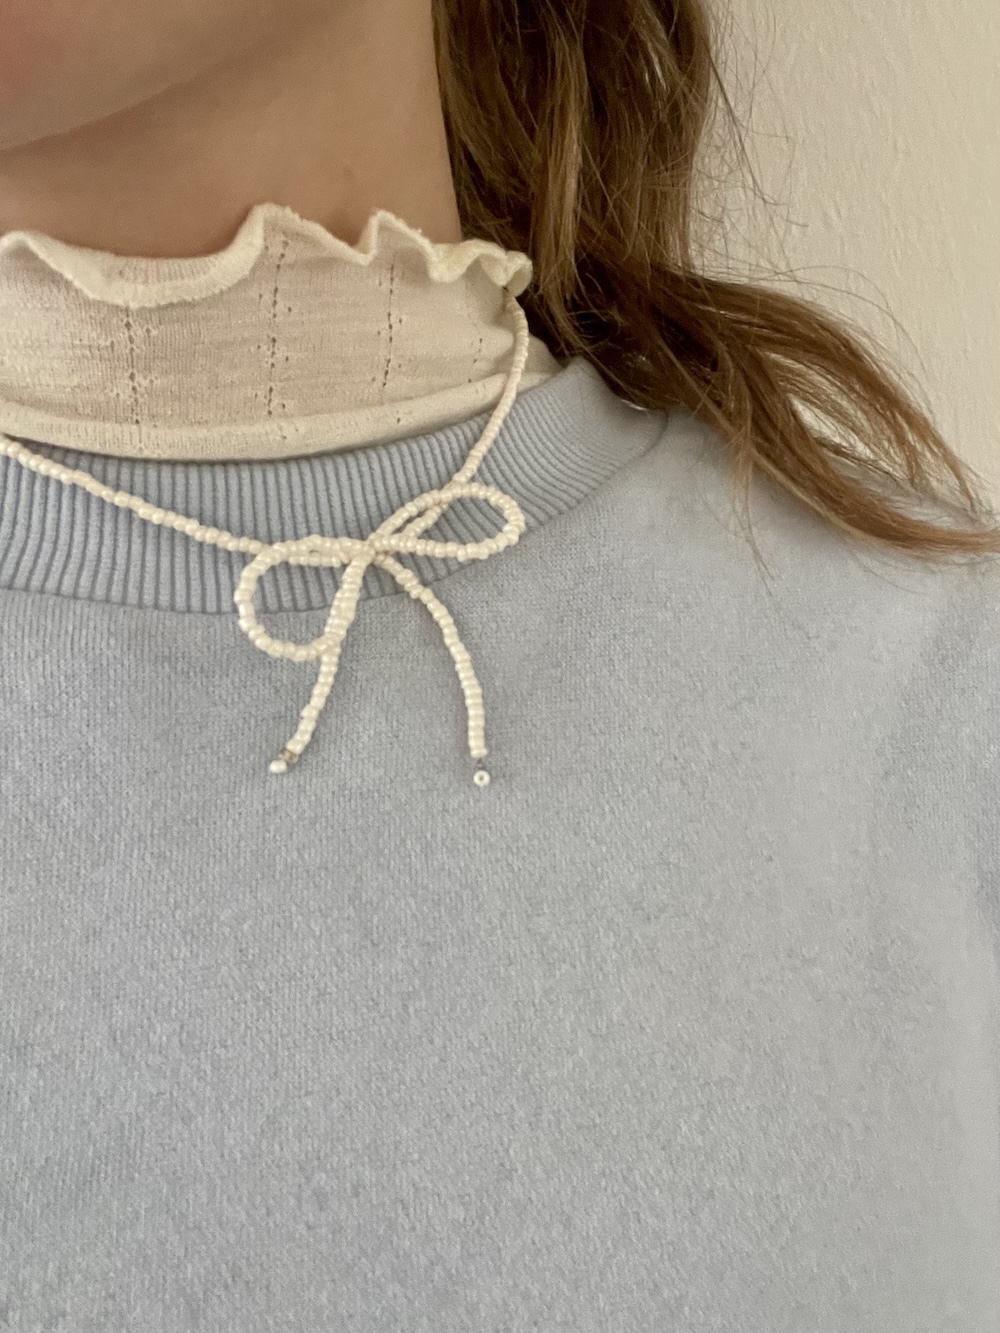
In this guide, I’ll take you through how to make a necklace shaped like a little bow. It’s an easy, simple, and beginner-friendly project to dive into. I’ll help you with which materials to use and guide you step by step through how to create your very own piece of jewellery!

General information
Find practical information and your free guide below.

Difficulty
Beginner-friendly

Materials list
- Beading cord
- Beads
- Jewellery clasps
- Jump rings
- Jewellery pliers
- Crimp beads
Instructions
1. Cut two cords of about 35 cm.
2. Add a crimp bead and a jump ring to your cord, then thread the end of the cord back through the crimp bead and squeeze it shut.
3. Open the ring and attach one part of the clasp, then close the ring again.
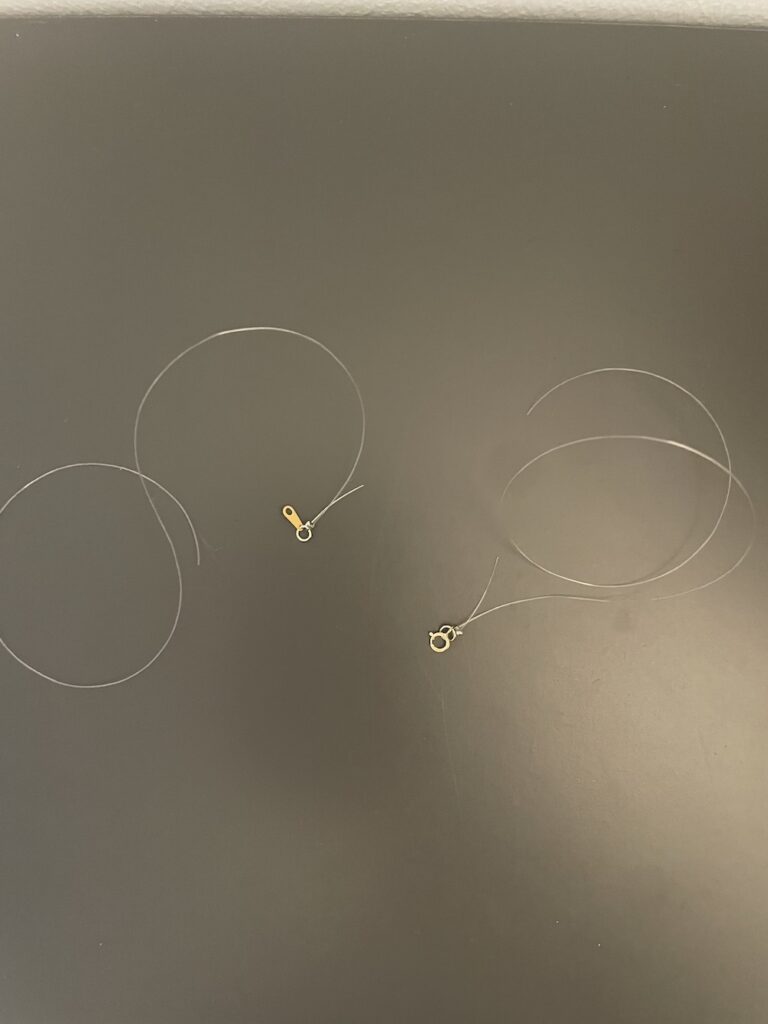
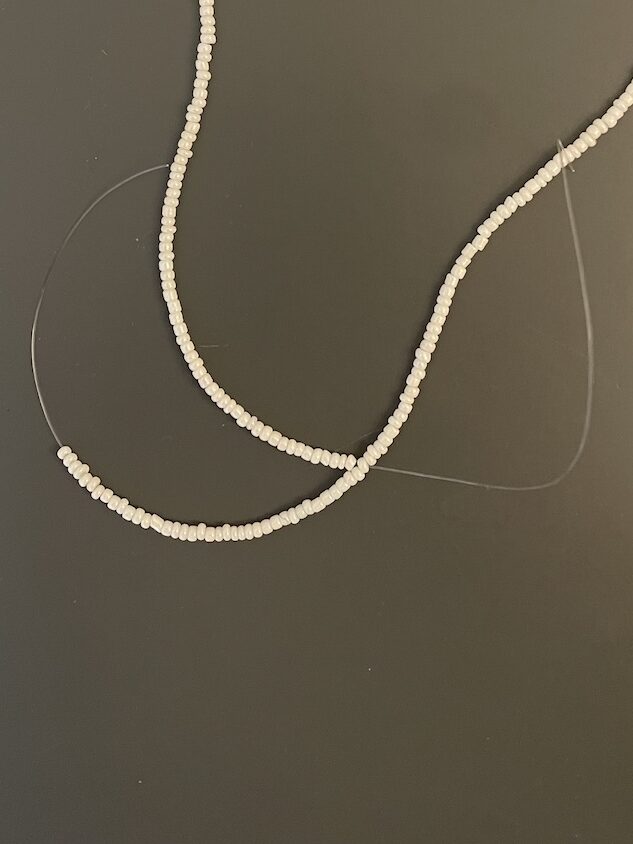
4. Repeat this on the other cord. You should now have two cords with a clasp, as shown in the photo.
5. Add beads to both cords until the beads fill about 17 cm on each cord.
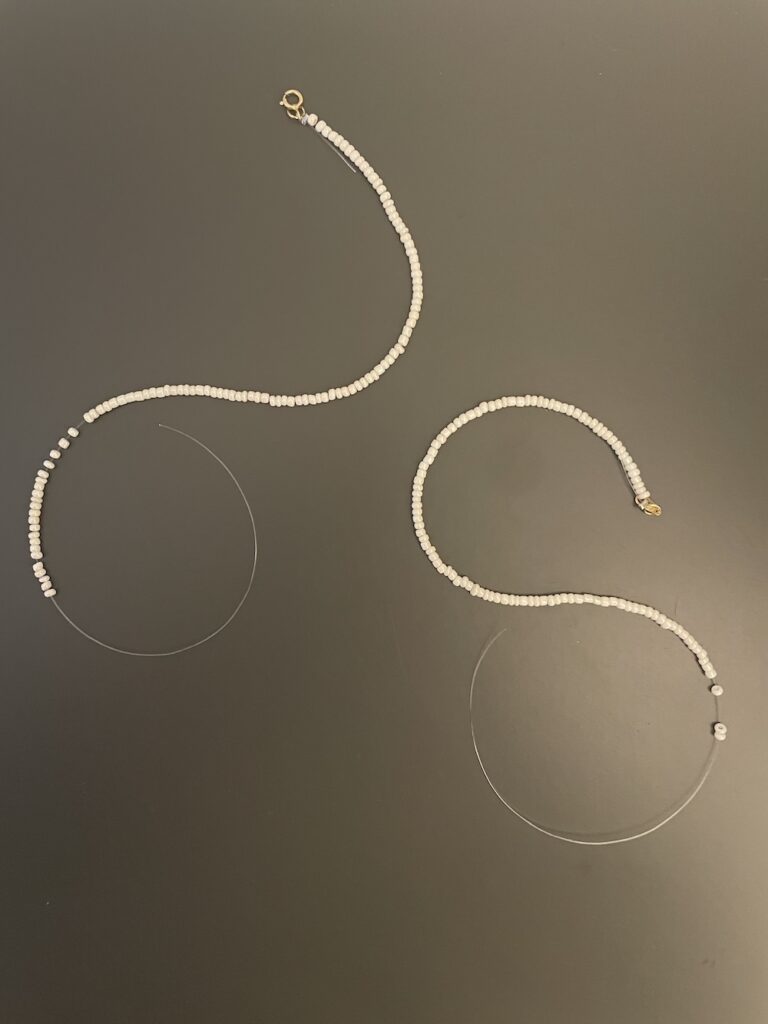
Note: for the rest of the guide, the cords will be referred to as cord A and cord B (you decide which is which).
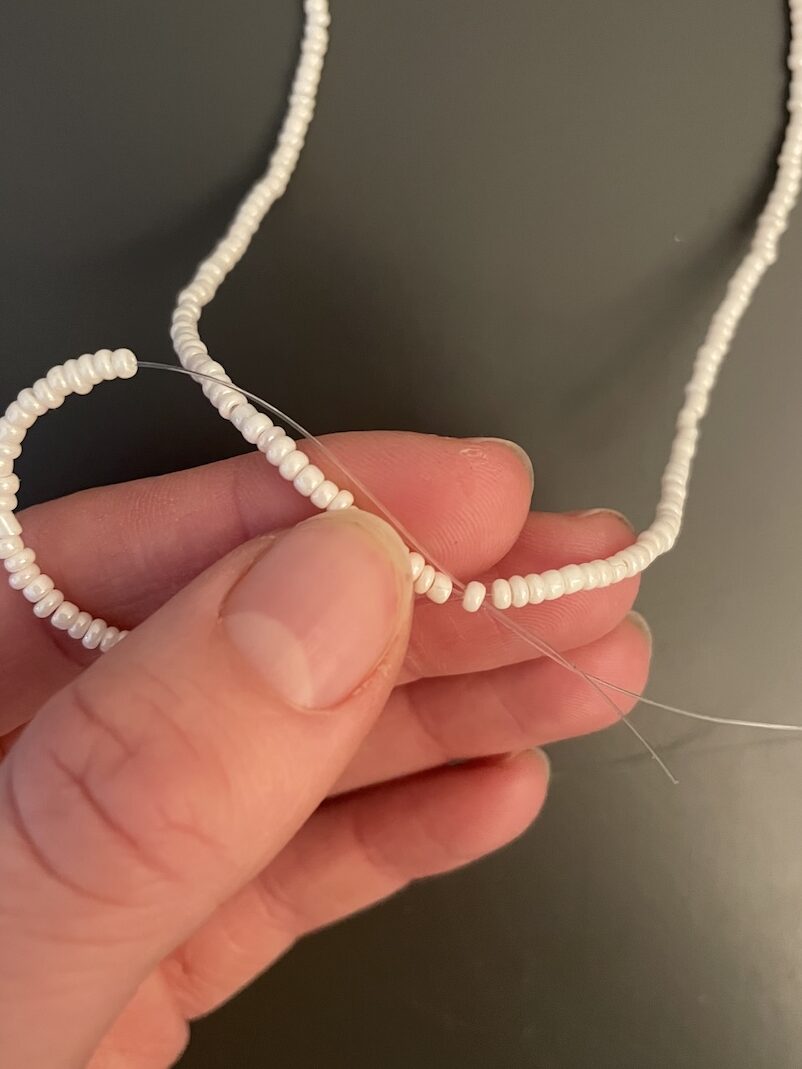
6. Thread the end of cord A through the last bead on cord B.
7. Add beads to cord A – you’ll need as many as you want the loop of the bow to hold.
8. Once you have your desired number of beads for the loop/arc of the bow, thread the cord through the same bead as before on cord B, as shown in the photo below.
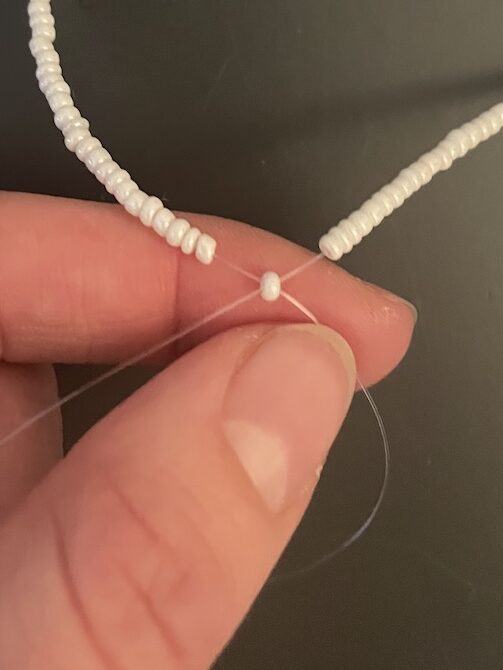
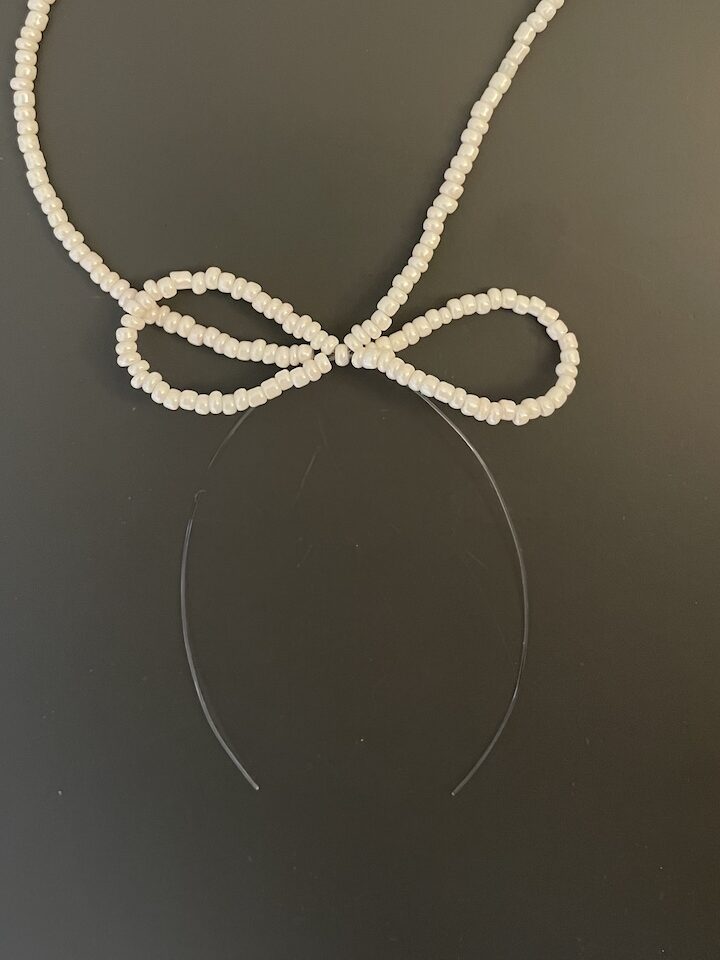
9. Repeat steps 6–8 for cord B, threading the end of cord B through the same bead that cord A went through.
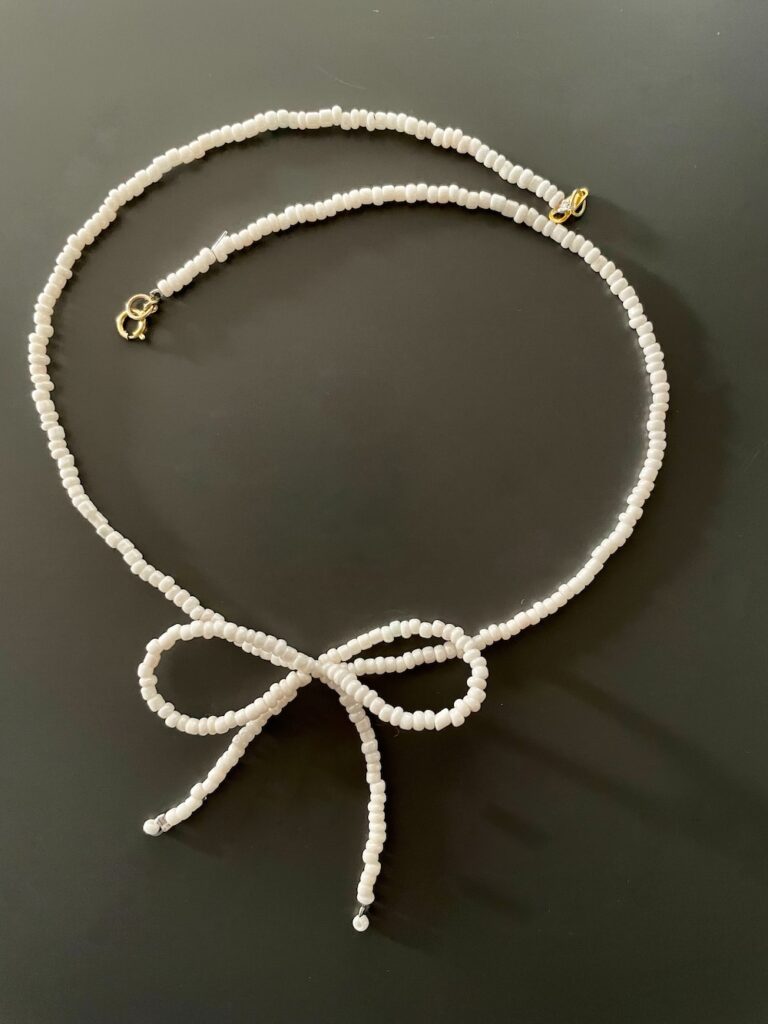
Your necklace should now look like this:
10. Add beads to both ends of the cords.
11. Before you add the last bead on each cord, add a crimp bead.
12. Now add a final bead to each cord, threading the cord through the crimp bead and squeezing it shut.
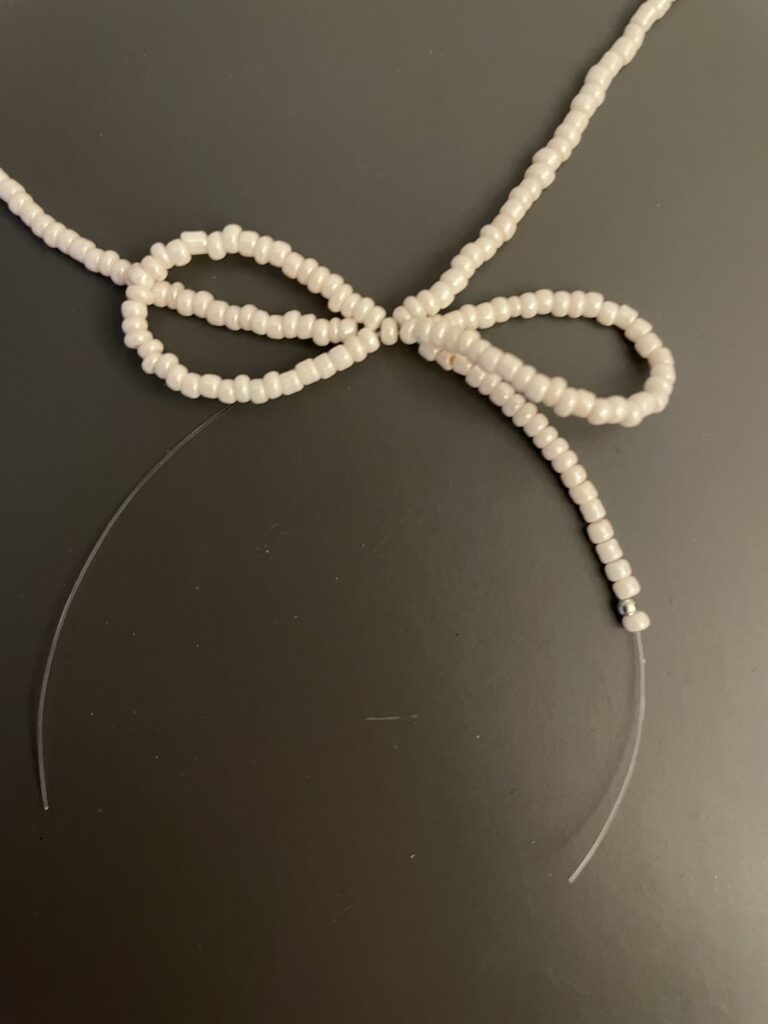
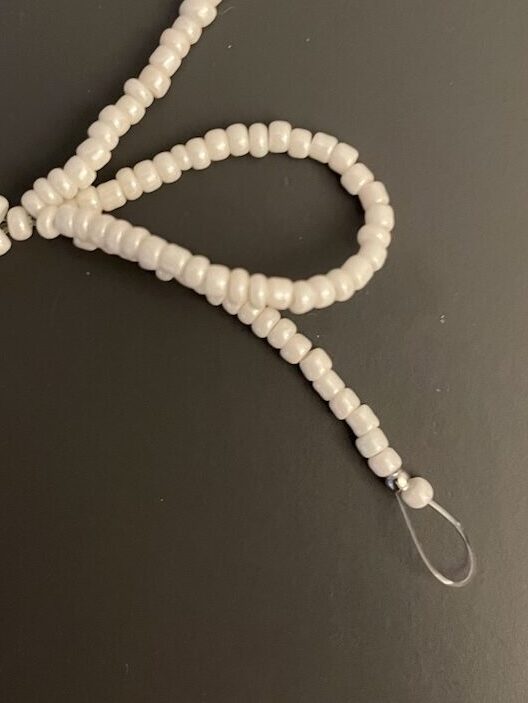
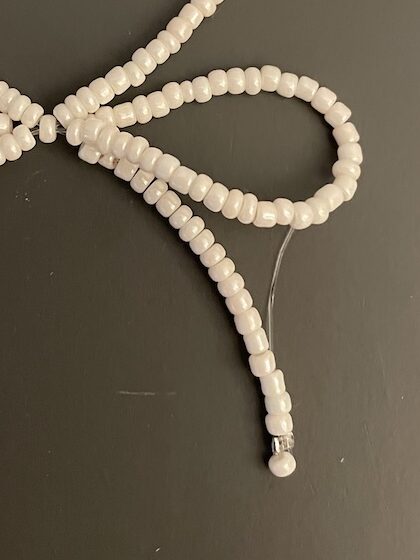
13. Thread the ends through some of the beads so the cord is hidden, and trim off any excess cord.
Congratulations on your new necklace!
Feel free to tag me in your post if you share your result on Instagram. I’d love to see what you’ve made!

Suggestions for your next sewing project
Every sewing pattern is designed with clear instructions in the form of photos, step-by-step guidance, and video, so you have a clear overview and support all the way through your project.
-
 Price range: 150,00 kr. through 165,00 kr.
 -
 100,00 kr.
 -
 Price range: 150,00 kr. through 175,00 kr.
Gratis DIY opskrifter
Gå på opdagelse i mine gratis opskrifter


Leave a Reply